The Story Continues as Dan begins putting the car back together!!
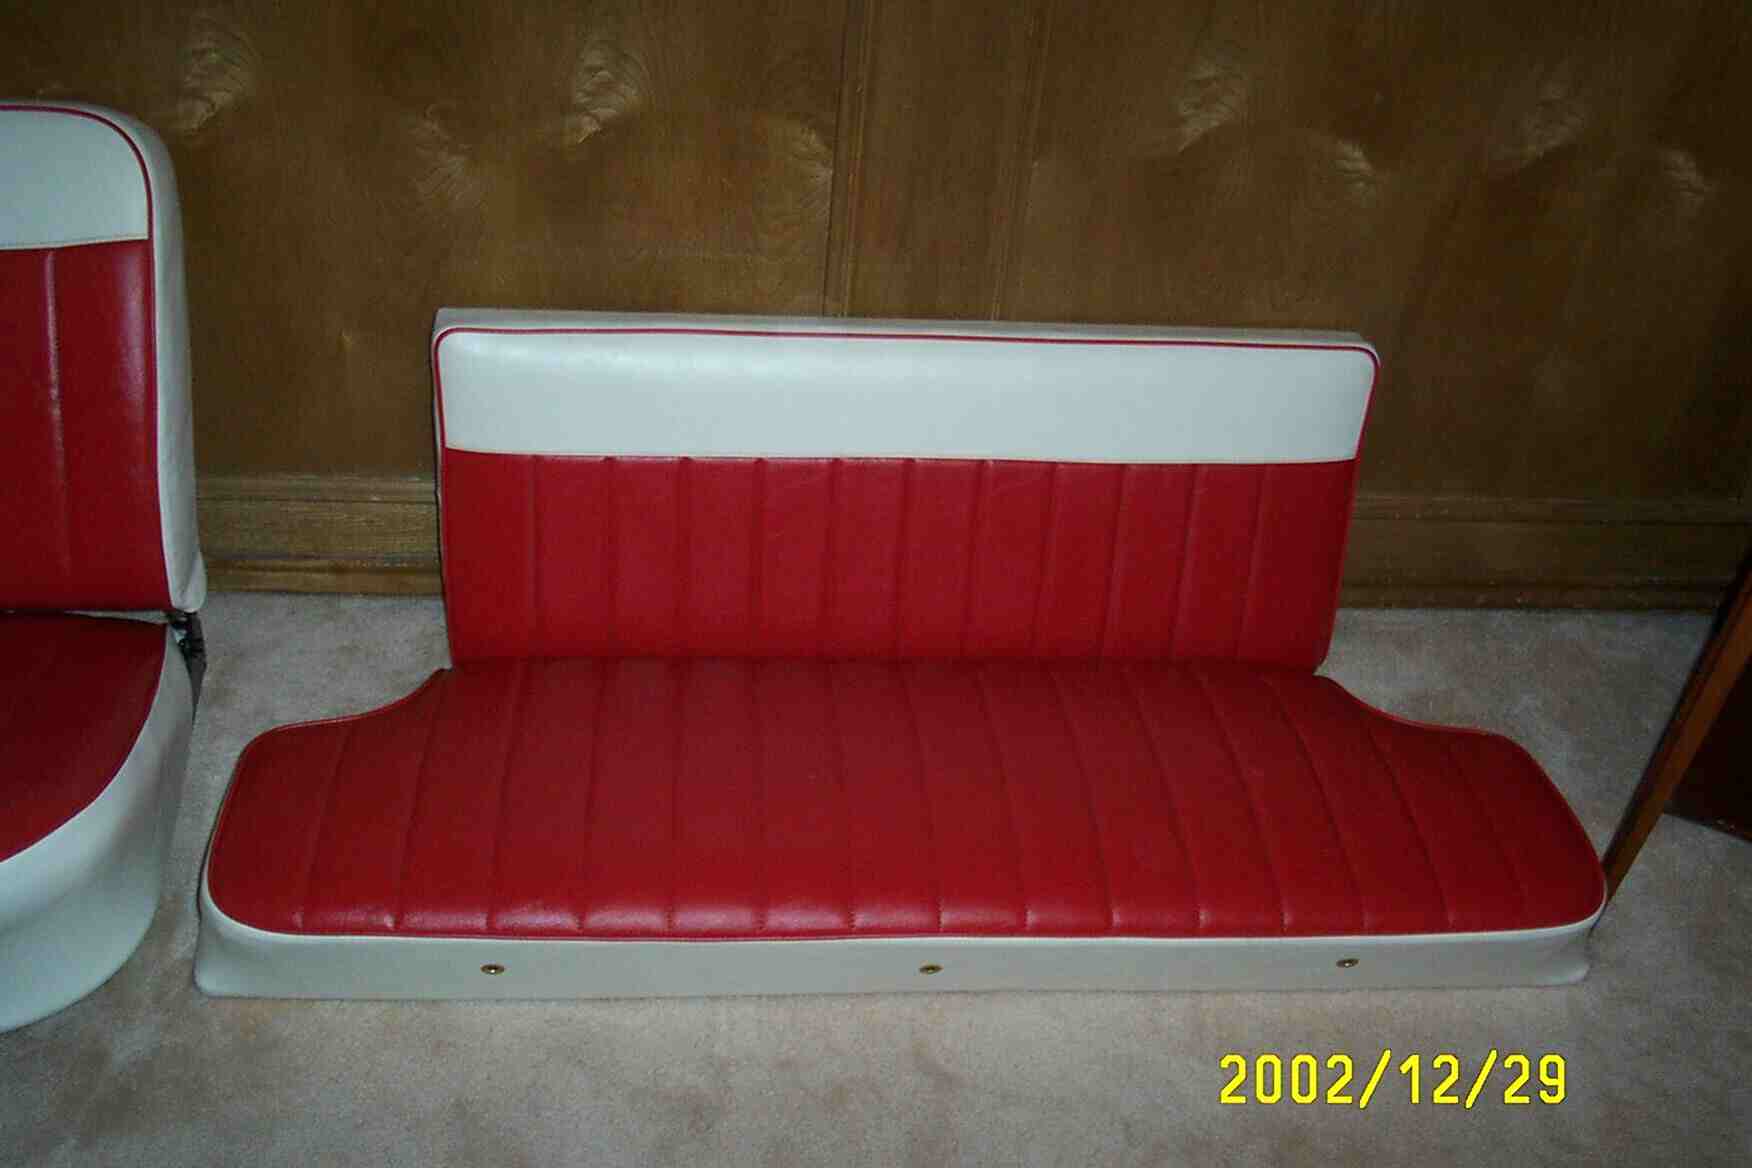
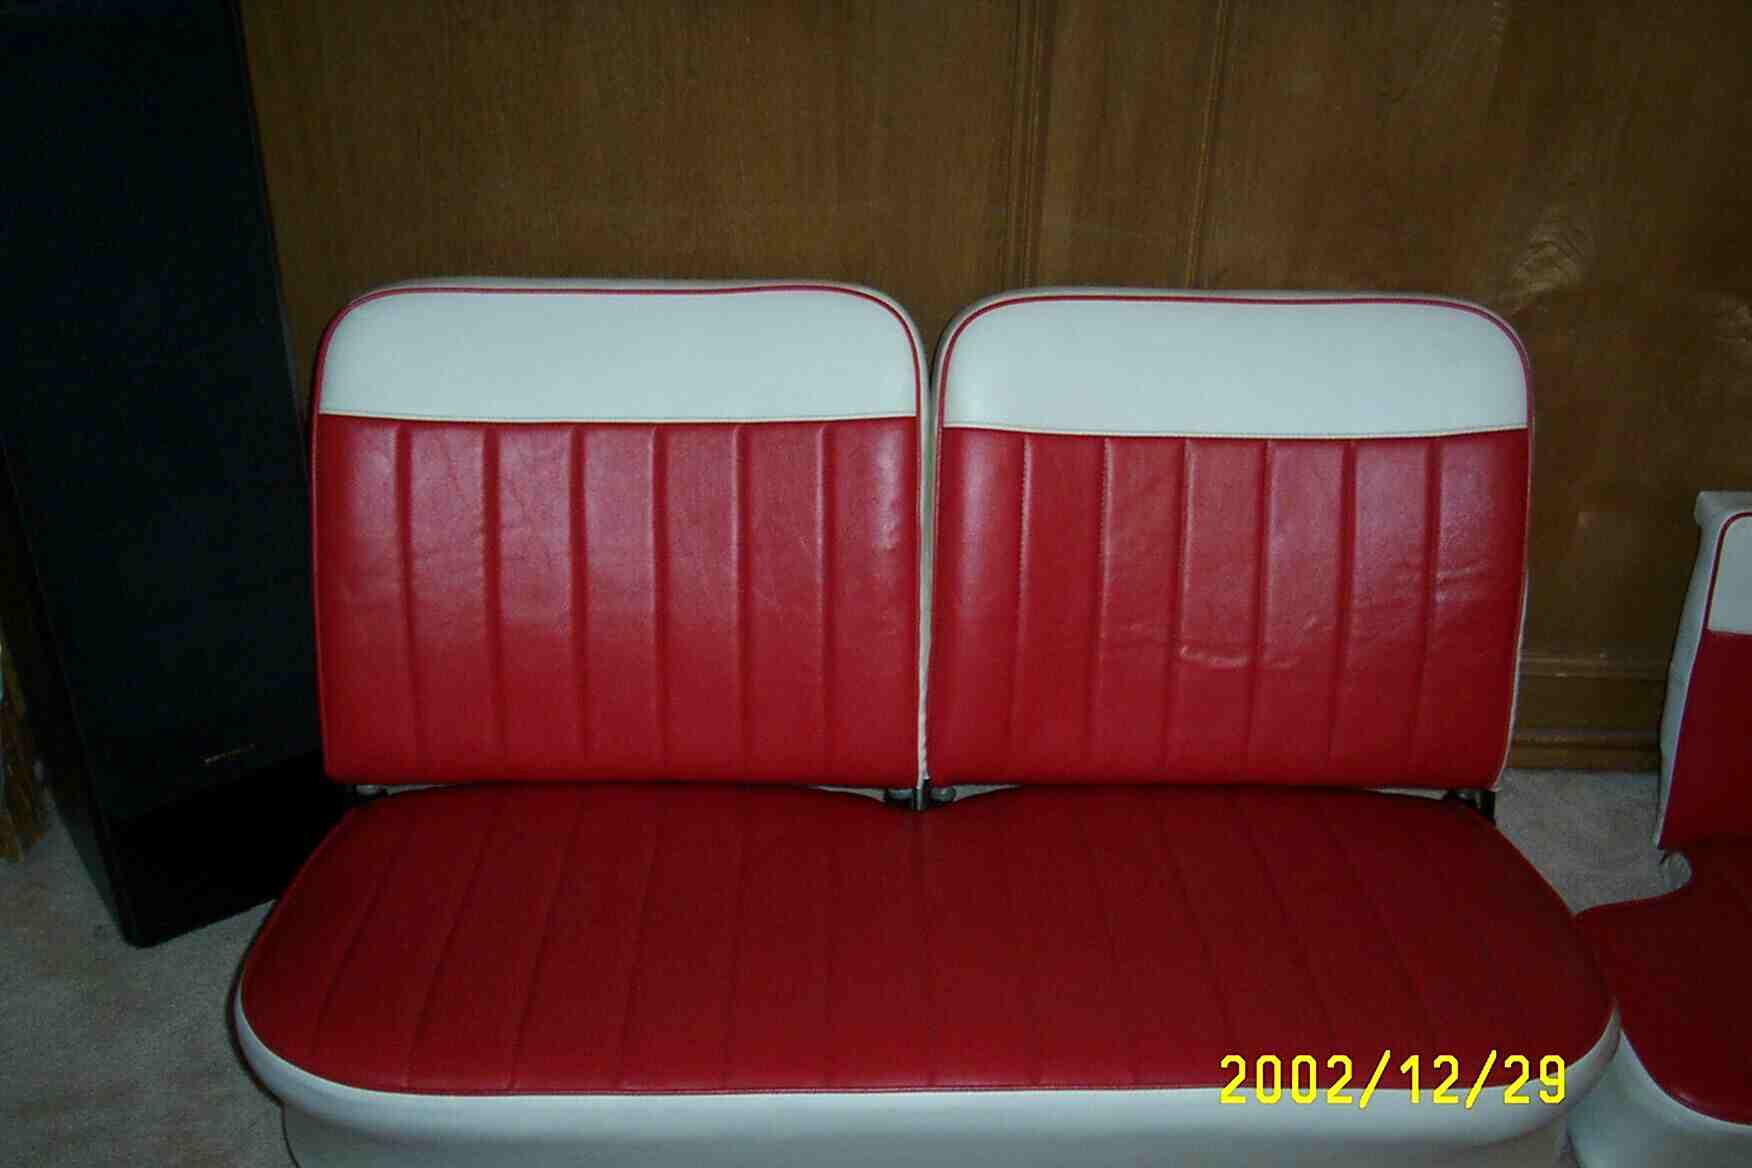
Here are the front and back seats back fresh from the reupholstery shop.
I am VERY pleased with the results. They sanded and painted the frames
as well as doing an excellent job on the upholstery. The name of the company
is Automotive Enterprises, and they are located in Arlington Texas.
And the front seat. We have been using it in front of our TV to watch movies
on. We get close enough, and it is like a big screen! Actually, I have been
toying with the idea of getting another front seat, and getting it redone
for the living room. So...if you have a nasty old amphicar seat lying around
that you want to unload, email me!
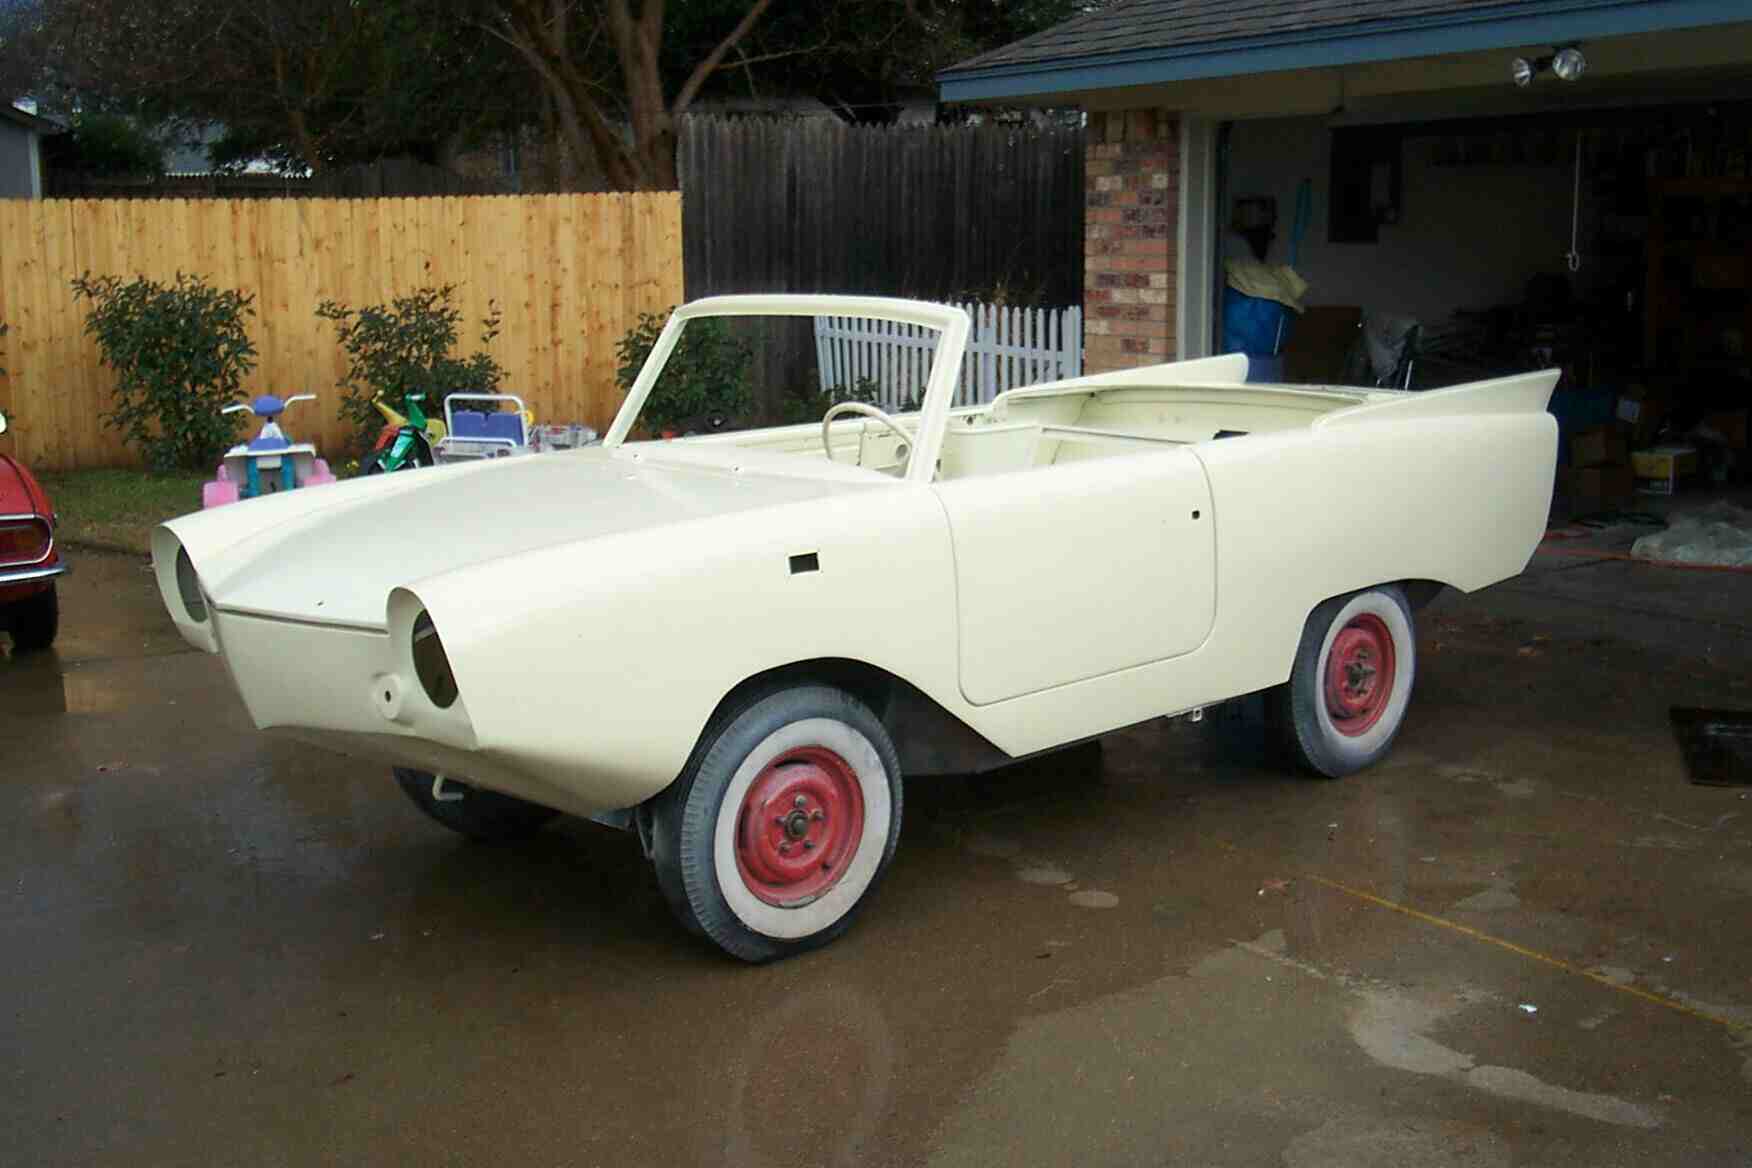
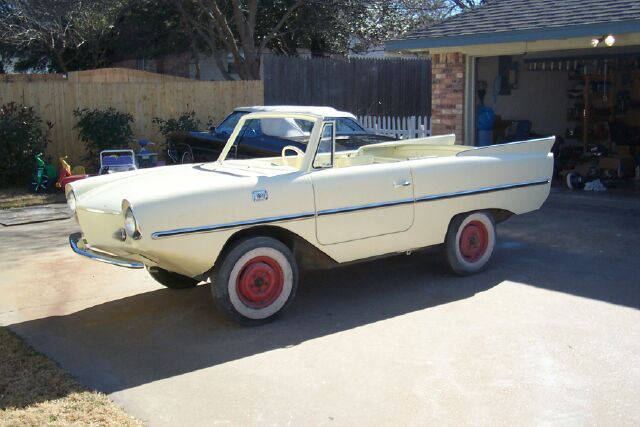
Here is the car with its new layer of paint! I think it looks pretty spiffy.
I just now have to be patient and wait a couple of weeks so that I can
color sand the whole car. I want it to SHINE! I have about a quart of paint
left. That will be enough to do the window frames, bumper arms, glove box
and gauge cluster. Not to mention the various spots I am sure I missed on
the car! And, the paint matches the steering wheel!
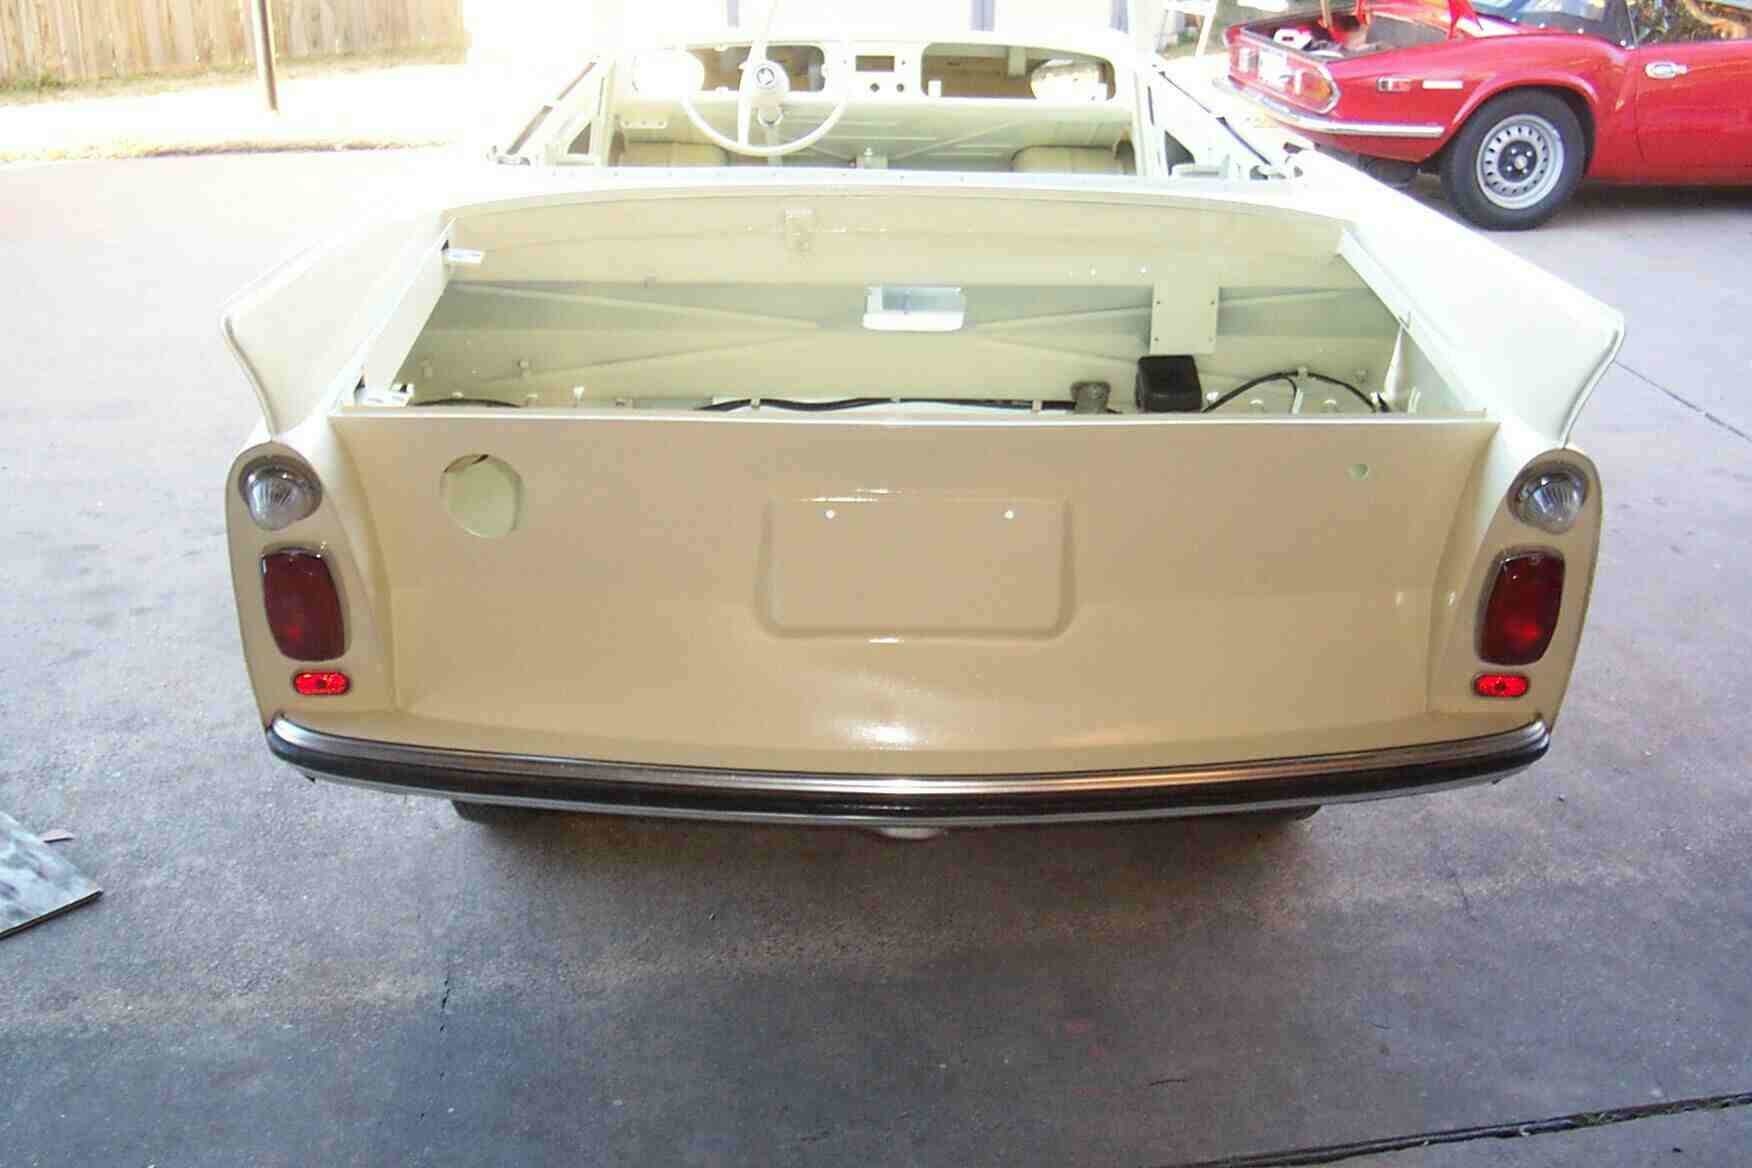
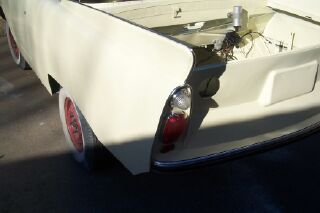
I wanted to accomplish something today, so I went ahead and put the engine compartment wiring harness back in. I was very pleased to see that it is in excellent condition. The BIGGEST hassle was scraping off the ancient masking tape off of EVERYTHING. At one time the tape held screws and the like, but most of them fell off into the boxes long ago, so they were not helping much. Cleaned everything up, and we are ready to go. And since I am not going to color sand the tailight areas, I decided to put the lights and bumper back on. The weirdest thing was the voltage regulator mounting screws. They were both broken in half! The busted halves were still in the caged nuts in the car (I was wondering what they went to!) I have no idea how they were broken. Anyway, I found some replacements in my bolt box, got the busted ends out of the nuts, and off we went! I am very curious to see if all these components still work. They look good!
And, while I was digging through boxes of parts, I found the horn and the bilge pump. Since I am going to have to repaint the horn housing (see spare paint comment above), I decided to disassemble it and see if the horn worked. It did not, but half an hour of fiddling with it brought it back to life. Kinda funky sounding. Not a happy "Beep Beep" like I expected.
The bilge pump just needed a good cleaning and minor oiling. I brought it into the house with a battery and tested it in the sink. I tried to bolster Kathy's confidence in the Amphicar not sinking by showing her how well the bilge pump worked. And it did! The water really shoots out of that thing! Of course, the sink turned brown!
Well, I am still color sanding the car. Remind me to shoot the paint
smoother next time! Oh well, the results are the same. Just don't try to
fingerprint me right now. As you may have noticed, the photos are smaller.
I am running out of room on my server, so I had to shrink them. :^(
During breaks from the color sanding, I installed some trim around the lights
and fin on the drivers side. I went up to O'Reilly's, and bought the truck
door trim roll. 23 feet for 10 bucks. I think it looks pretty good! Goes
around the fin well, and is nice and shiny. My old trim is kinda shot, so
this will work for now. I kinda bothced the photo, but you get the idea!
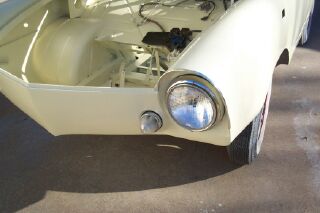
Headlights! Well, one anyway. The original rims are cleaning up
nicely, with only some minor pitting. You can see the trim around the headlight
eyebrow as well. All the rubber looks pretty good, and looks like it will
seal up well. You can see that I am getting the wiring installed
as well. Got the fuse box cleaned up, and the few mouse chewed wires repaired.
Now I just have to figure out where the freshely painted relay board goes!
I chuckled when I saw the vacuum tube on it. Reminds just how old this
car is!
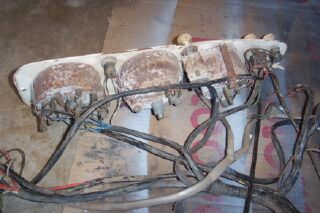
The back of the dash before I started. I took lots of pictures,
and labeled everything! Bet it all works! Tomorrow I hope to get the glovebox,
dash, bumper brackets and vent window frames painted, along with some spots
I did not cover completely on the car (windshield frame, interior). Swimming
in the spring is looking better and better!
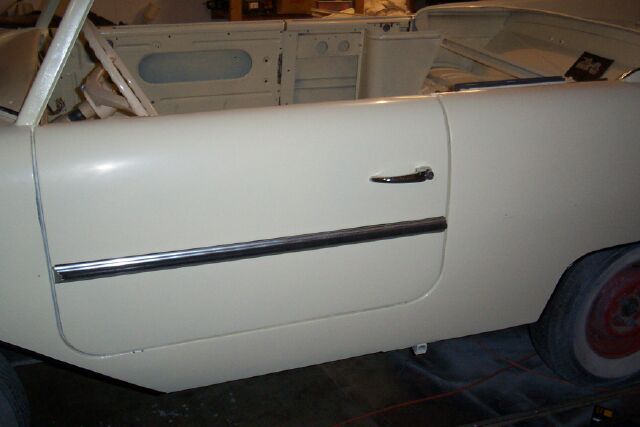
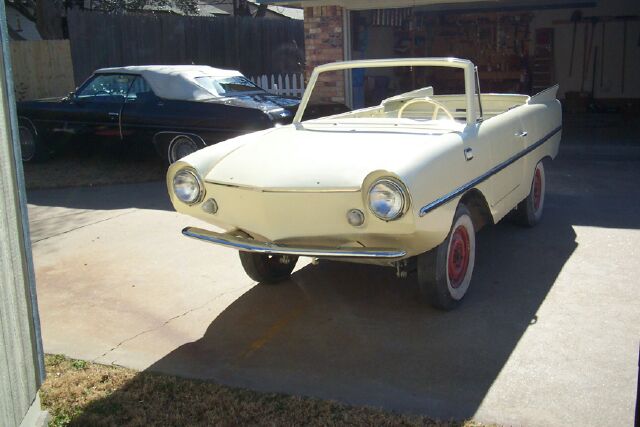
Work work work work. In the last week I started getting the gas tank ready for painting, fixed the bilge blower motor (mouse nest!) and started working on getting the window fuzzies installed. And, I also painted all the stuff I mentioned above ('cept I have to do the backs of the glovebox and the dash).You can see the rear side window installed! Unfortunately, all of the window cranks are missing off of the car. Anyone have a spare set? You can also see that I have been getting the door handles installed. I have to dig through all the boxes of parts to see if I can find all the screws that have fallen out of the petrified masking tape. You also can see where I chipped my new paint when I had to re-align the door. D'OH! I also have installed the side trim on the door. Since the backing plastic has shrunk, I had to soak it in hot water, and stretch it out. A good workout! The chrome on the door handle has some pits...but no one is gonna care. I think it is looking good!!
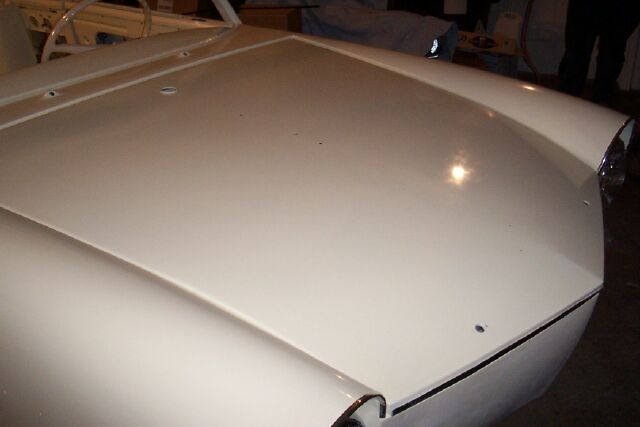
Here is a quick shot of the hood after I buffed it out. I wanted to sand it some more, but I was getting nervous that I had not put enough paint on it, so I stopped. Still, it look a whole lot better than it did!!
We had a very nice afternoon with the Al Heath family today. It snowed a fair amount for Texas today, so no swimming. :^( I did get a nice tour of Al's cool car and plane collection, and a very nice dinner. Kudos to Al and Deborah for a great time!
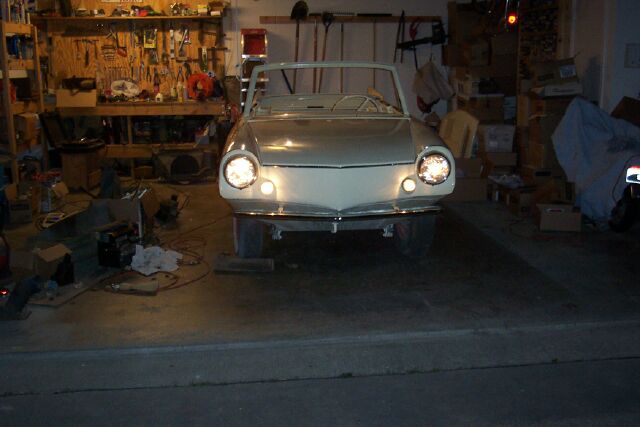 After 20+ years disasembled, the car DOES something again. The headlights
and taillights are working. YEA!!! I will have to get the dash put back together
before I can do much else on the wiring. Looks pretty spiffy (at least form
10 feet!)
After 20+ years disasembled, the car DOES something again. The headlights
and taillights are working. YEA!!! I will have to get the dash put back together
before I can do much else on the wiring. Looks pretty spiffy (at least form
10 feet!)
Email us here
Odometer reading: 